Reading time around 15min.
There's still a lot of confusion around the best way to do the weighted dip. There are a lot of myths, a lot of uncertainties, and also a lot of oversimplifications when it comes to this exercise. In this article, I'll share the most important things I've learned from coaching weighted dips. This article isn't meant to be 100% comprehensive. The field of streetlifting/weighted calisthenics is still very new, so I'll reserve the right to change my opinion based on more information in the future. I've done that already a couple of times in my coaching career, and I'm open to your input and willing to keep learning.
--> Schedule your coaching call with us here.
--> Workout Program can be found here.
What is a dip about?
The dip is a strength and muscle-building exercise that's great for your pecs (chest muscles), shoulders (especially the front), and triceps brachii (the muscle that extends your elbow). (1) Back in the golden age of bodybuilding, it was even one of Arnie's favorites.
--> a video dip tutorial next to this article can be found on my Youtube Channel here. Don't forget to subscribe.
From a muscle-building standpoint, to get the most out of it, there are a few things to keep in mind when doing the dip. Based on the principle of neuromechanical matching, we know that the human body uses muscles to perform a certain motion based on their internal leverage. So, to train a certain muscle, we want to perform a strength exercise that has a range of motion where this muscle has good leverage. (2) The issue is that there's not a lot of data out there on internal leverages with the arm behind the body. Most measurements start at 0° shoulder flexion, so they're usually done with the arm next to the body (7). So we'll make some logical assumptions to fill in the gaps.
1) Pectoralis Major

There are three main regions of the pectoral muscles: the clavicular region, the sternal region, and the costal region. If we bring the arm behind our body with our elbows close to our body, it seems that the costal region gains leverage as well as length. If we move the arm out to the side a bit while bringing it behind the body, the sternal region can help to bring the arm in towards the body. From a mechanical standpoint, it seems that the leverage increases with shoulder extension and peaks until a stronger elevation of the clavicle, along with the anterior tilting of the shoulder blade, shortens the moment arm once more. If we extend the shoulder joint further, the pectoralis will lose leverage for extension but gain it for shoulder depression. See picture below:

I think we can assume that, because there's less leverage, we'll see more activation of the latissimus dorsi, front deltoid, and possibly the triceps, rather than an increased pectoralis stimulus at this point in the range of motion. But that's just my assumption. Given the cost-benefit of high degrees of shoulder extension with a highly stretched shoulder capsule and biceps tendon, and assuming there's less benefit for the pectoralis, it seems fair to say we can skip this part of the range of motion. This means we limit shoulder extension to the point where more extension is only achieved by raising the shoulder. It's also worth noting that humeral movements require a certain degree of scapular movement. So it's not a good idea to limit elevation and retraction completely, as this will lead to abnormal scapulohumeral mechanics.
2) The front delt (deltoideus pars clavicularis)

The front deltoid is also a strong muscle that helps flex the shoulders. However, since the ribcage doesn't engage with it, the moment arms for flexion are relatively small compared to the pecs during the dip. It does gain leverage with higher degrees of shoulder flexion. This could suggest that it also gains leverage for shoulder extension when the arm moves behind the body. With wider grips, there's less extension and more adduction, so the activation is decreased. Dips are a great way to work the front deltoids, but they're not a major limiting factor in this exercise.
3) The Triceps Brachii

The triceps have three heads, and they're all activated with elbow extension. The long head might be a bit less active during dips, especially with arms behind the body, compared to the lateral and medial heads. This is because it also works as a shoulder extensor, so it would act antagonistically when pushing into shoulder flexion. The triceps will reach about 90° of elbow flexion in dips, which seems to be enough because the triceps is at the plateau of the length-tension relationship in this range of motion. This means that at the muscle fiber level, it's already "lengthened enough" to provide a great stimulus even at smaller elbow joint angles. You likely won't increase gains with more stretch here. (3)
Summary:
If we put it all together, the dip is a great hypertrophy exercise to do, even at a moderate range of motion. It's especially good for the costal and partly the sternal region of your pecs, the lateral and medial head of the triceps, and your front delt. It's good to know you can avoid any vulnerable positions like high degrees of shoulder extension without losing out on the benefits.

Technique Review
1) Center Of Mass / Weight Path
When you're doing a dip, your body can move freely between the bars. That means we need to keep our center of mass between our hands while we're doing the dip. If we push too far forward or backward, it's harder to keep our balance. We need to push back with our hands or change our body position to stay balanced. You can achieve this balance with different body positions, depending on your body type and dip technique.
One of the most important things to think about when doing strength exercises is managing your center of mass. This is also true for dips. You can only express your full force potential if you're in balance. If you exert force from an unbalanced position, it'll throw your position off even more. Your body will notice that and it'll affect your force production. For regular bodyweight dips, you only need to produce a little force per repetition. That means that deviations from a balanced position don't impact your performance much. This changes when you start adding additional weight to the dip.
As you do the weighted dip, you and the extra weight will create a new center of mass. This is the result of your center of mass and the center of mass of the extra weight. The bigger the additional weight is compared to your body weight, the more the total center of mass will shift toward the additional weight.
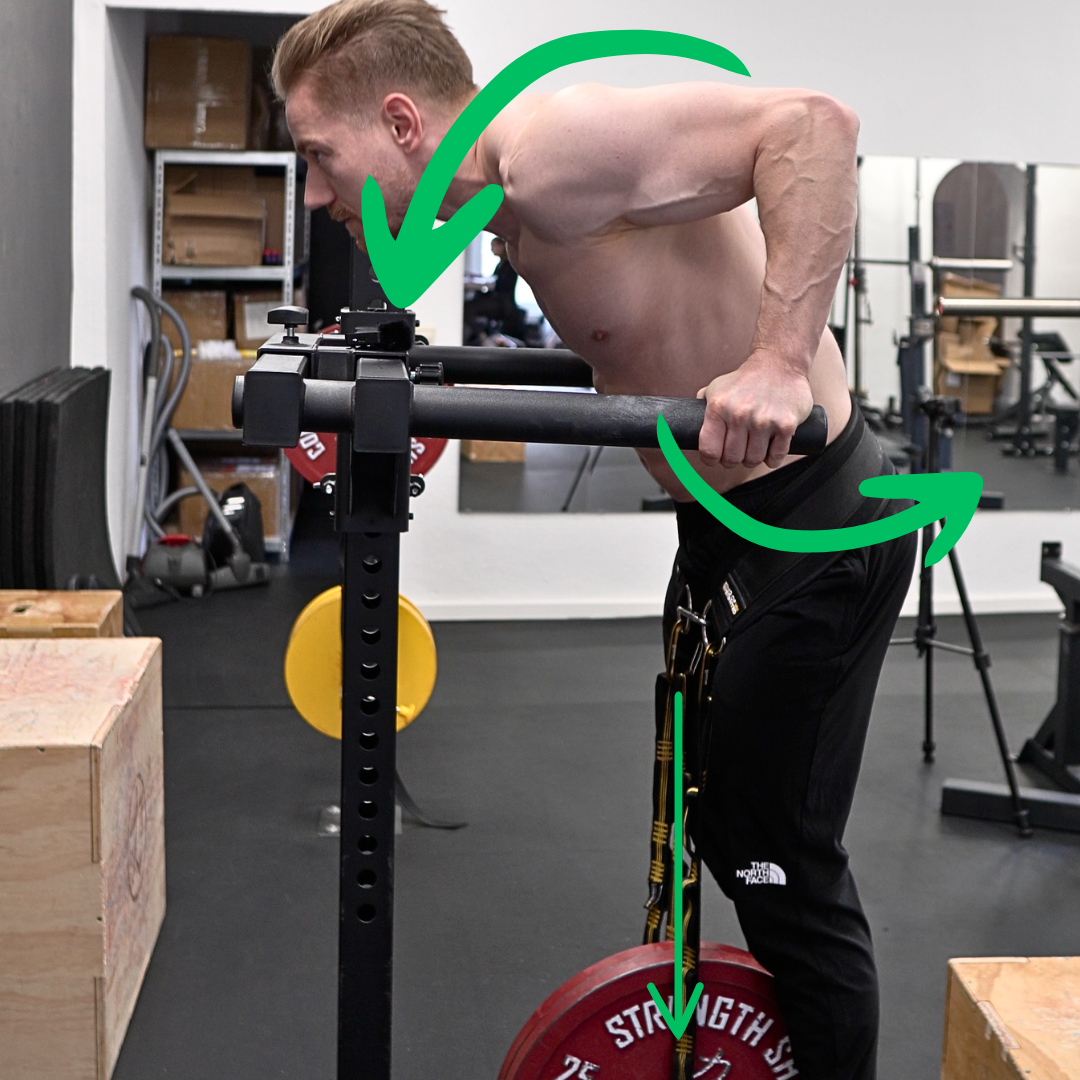
Something else to think about is that when we move a lot of additional weight, the additional weight creates a pendulum. These pendulum movements can mess with your dip balance if the swing of the pendulum doesn't line up with the rhythm of the reps. That happens pretty quickly as rep speed slows down due to fatigue over a set (8). So for heavy weights, it's a good idea to adjust your body position in a way that allows for a pretty vertical path of the additional weight to minimize pendulum motion. It doesn't have to be perfectly straight, just vertically enough that the weight can easily be controlled.
As we move down into the dip, our upper body will move forward as our elbow bends. The longer your upper arm is, the more vertically your forearm stays, or the narrower the grip is you want to use, the more you need to lean forward.
To stay balanced, you need to counterbalance that forward lean of the upper body. As you'll recall, our goal is to keep the additional weight as vertical as possible, especially when it's close to or above our body weight. This helps us avoid strong pendulum motions.

There are a few ways to do that. If you descend into the dip and move your shoulders forward, you'll need to move your hips backward. To keep the weight path vertical, it's important to flex (bend) the hips as soon as they move backward. As an alternative to bending the hips, we can also flex the spine a little, or a combination of both. We'll talk more about which approach is best and why later in the article. There's a lot of variation here, depending on the athlete's grip width and body type. You'll see a lot of variety in the dips, from very flat ones with a lot of displacement to very upright ones with very little displacement. It's important to understand that simply copying a technique isn't enough. We need to grasp the underlying principles as well.
Summary
Let's recap what we've agreed on so far. A dip is a shoulder extension-to-flexion movement combined with an elbow flexion-to-extension movement. The grip width determines whether there's an additional abduction and adduction component. You can also do weighted dips. Weighted dips are a challenging exercise because we have to keep our center of mass in check with the free-hanging legs. If we're using extra weights, especially ones close to or above our body weight, we want to keep the weight path as vertical as possible to minimize pendulum movements.
2) Streetlifting Dip Requirements
As you probably know, the weighted dip is a competition lift in streetlifting. Streetlifting is a one-rep max sport. So, the goal of the dip is no longer just building muscle, but rather moving as much weight as possible in one repetition. This gives us a new way of looking at this lift.
Competitive strength sports have a set of rules to make performances comparable. These rules usually set a minimum range of motion that has to be achieved for a repetition to count. As the sport is still pretty new, these rules are constantly changing. By the time you read this article, they might already have changed again. The most common set of rules defines two reference points for the range of motion you need to achieve in a dip.
Reference Point Nr.1 - Shoulder depth
The first reference point is shoulder depth. You've got it right if the highest point of your rear shoulder is below the highest point of your elbow.
Reference Point Nr. 2 - Hip depth
Hip depth is considered deep enough when the lower border of the weighted belt is below the top of the bars. The position and width of the belt are usually standardized when this rule is used. (4)
--> Get the ONLY competition approved weighted dip belt: The KOW-Belt.

The goal for competition athletes is to find a technique that allows them to hit the required depth with the most efficient technique possible. So the athletes need to make decisions where they can minimize the range of motion without sacrificing strong and sustainable joint positions. Since building strength is a long-term process, efficiency isn't the only thing that matters. Let's talk about the basics of a strong dip technique in theory and then try to apply these principles in practice.
3) Internal Leverage
I know this might sound a bit complex at first, but I'm happy to explain it further if you'd like. We want to bring the main muscles that are active in a dip into a position where they can exert a lot of force, as they're in a position with good leverage. This gives them a mechanical advantage, because the bigger the lever a muscle has, the more load it can move.
Pectoralis Major - As we talked about, this muscle gets stronger when you push your shoulders in extension (move the arm behind the body). If we can expand our anterior chest wall, we can also increase the leverage of the pectoral muscles. The good news is, we can achieve this with an inhalation. When you inhale, your ribcage expands, which gives the pectoral muscles more leverage for shoulder flexion (arm to the front). To make use of this leverage, we need to avoid a rib flare and create a stack (neutral pelvis and ribcage position). It's also important to keep this position as good as possible during the dip. If we lose this position, we'll lose leverage. As we said earlier, it's also important to limit shoulder elevation (shoulder coming to the ears) during the dip to stay strong and push up effectively. Just a heads-up: Restricting doesn't mean avoiding. You'll need to elevate your shoulder a little and retract it a bit to get the arm behind your body. This is how our bodies work, and it's not something we can choose to ignore. If you don't allow these movements, the shoulder can't extend properly, so it makes up for it by tilting the shoulder blade more strongly, winging it, or rolling it forward on the ribcage.

The front deltoid muscle, which helps with shoulder flexion, will most likey also gain a little leverage with shoulder extension.
The triceps are a bit limited in how much they can be manipulated during dips because we can't shape the joint in the same way we can with the ribcage. The range of motion is basically set by the rules. (3)
Another fascinating aspect of muscle leverage is that in skeletal muscles, it typically increases with muscle size. As the muscle gets bigger, the moment arm gets bigger too, which has an impact on the joint. So, when you grow a muscle, you not only get stronger because of hypertrophy, but you also create a better lever to act on the joint that the muscle moves.
4) Flow Of Force
The extra weight creates a downward force. The force flows into our body through the belt at our hips. Then it flows over our spine and ribcage into the shoulders, down the arms, and is transferred into the bars. All the joints and structures that are part of this flow of force are loaded during the exercise. When you're doing a dip, you've got to transfer the force generated by your shoulders and elbows to the additional weight so you can move it (at least on the way up).

To do that effectively, we need to have a solid connection between our upper and lower body. This means the weight will move when we push. So, keeping a stacked position helps us leverage the chest and create an efficient force transfer to the weight. If we use a lot of spinal flexion on the way down, we need to extend on the way up. This could result in the upper body moving quite a lot without transferring force to the weight. It's not a big deal if you do it in small amounts to get a good shoulder depth. It can become problematic if athletes overuse this strategy leading to a scenario where force can only be transferred in a very weak position in the top part of the dip, where the chest, delts and even the triceps already have pretty poor leverage. This looks like the athlete hits a wall after diving up from the bottom position. An even more extreme scenario would be that much spinal flexion, that there is barely movement in the weight. If this is the case, we can't really call it a dip anymore, as the main component—shoulder extension—is barely happening. We could call it a weighted triceps extension. Fortunately, the hip depth rule puts some limits on this technique.

5) External Leverage
External leverage is the leverage that the additional weight (or, more accurately, the total center of mass—you + weight) has on the joints in the flow of force. If the weight exerts a lot of force on a joint, the muscles have to produce more force to overcome it. That means we need to make this lever as small as possible with our technique. The main joint we need to think about here is the shoulder joint. As you extend your shoulders and lean forward, the weight you're carrying gains leverage on your shoulder joint. This is at its greatest when your upper arm is parallel to the floor.

Narrow grip left - wide grip right.
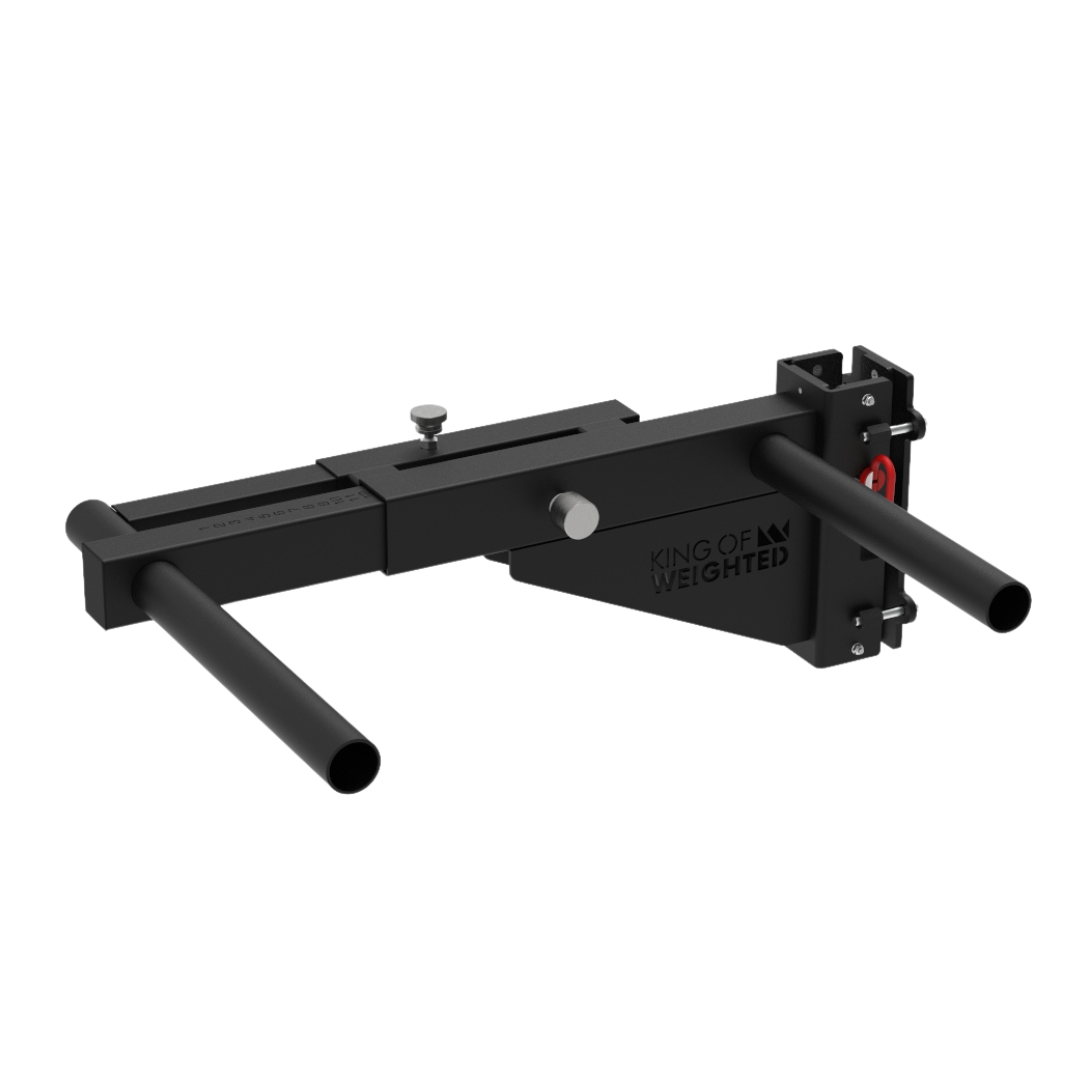
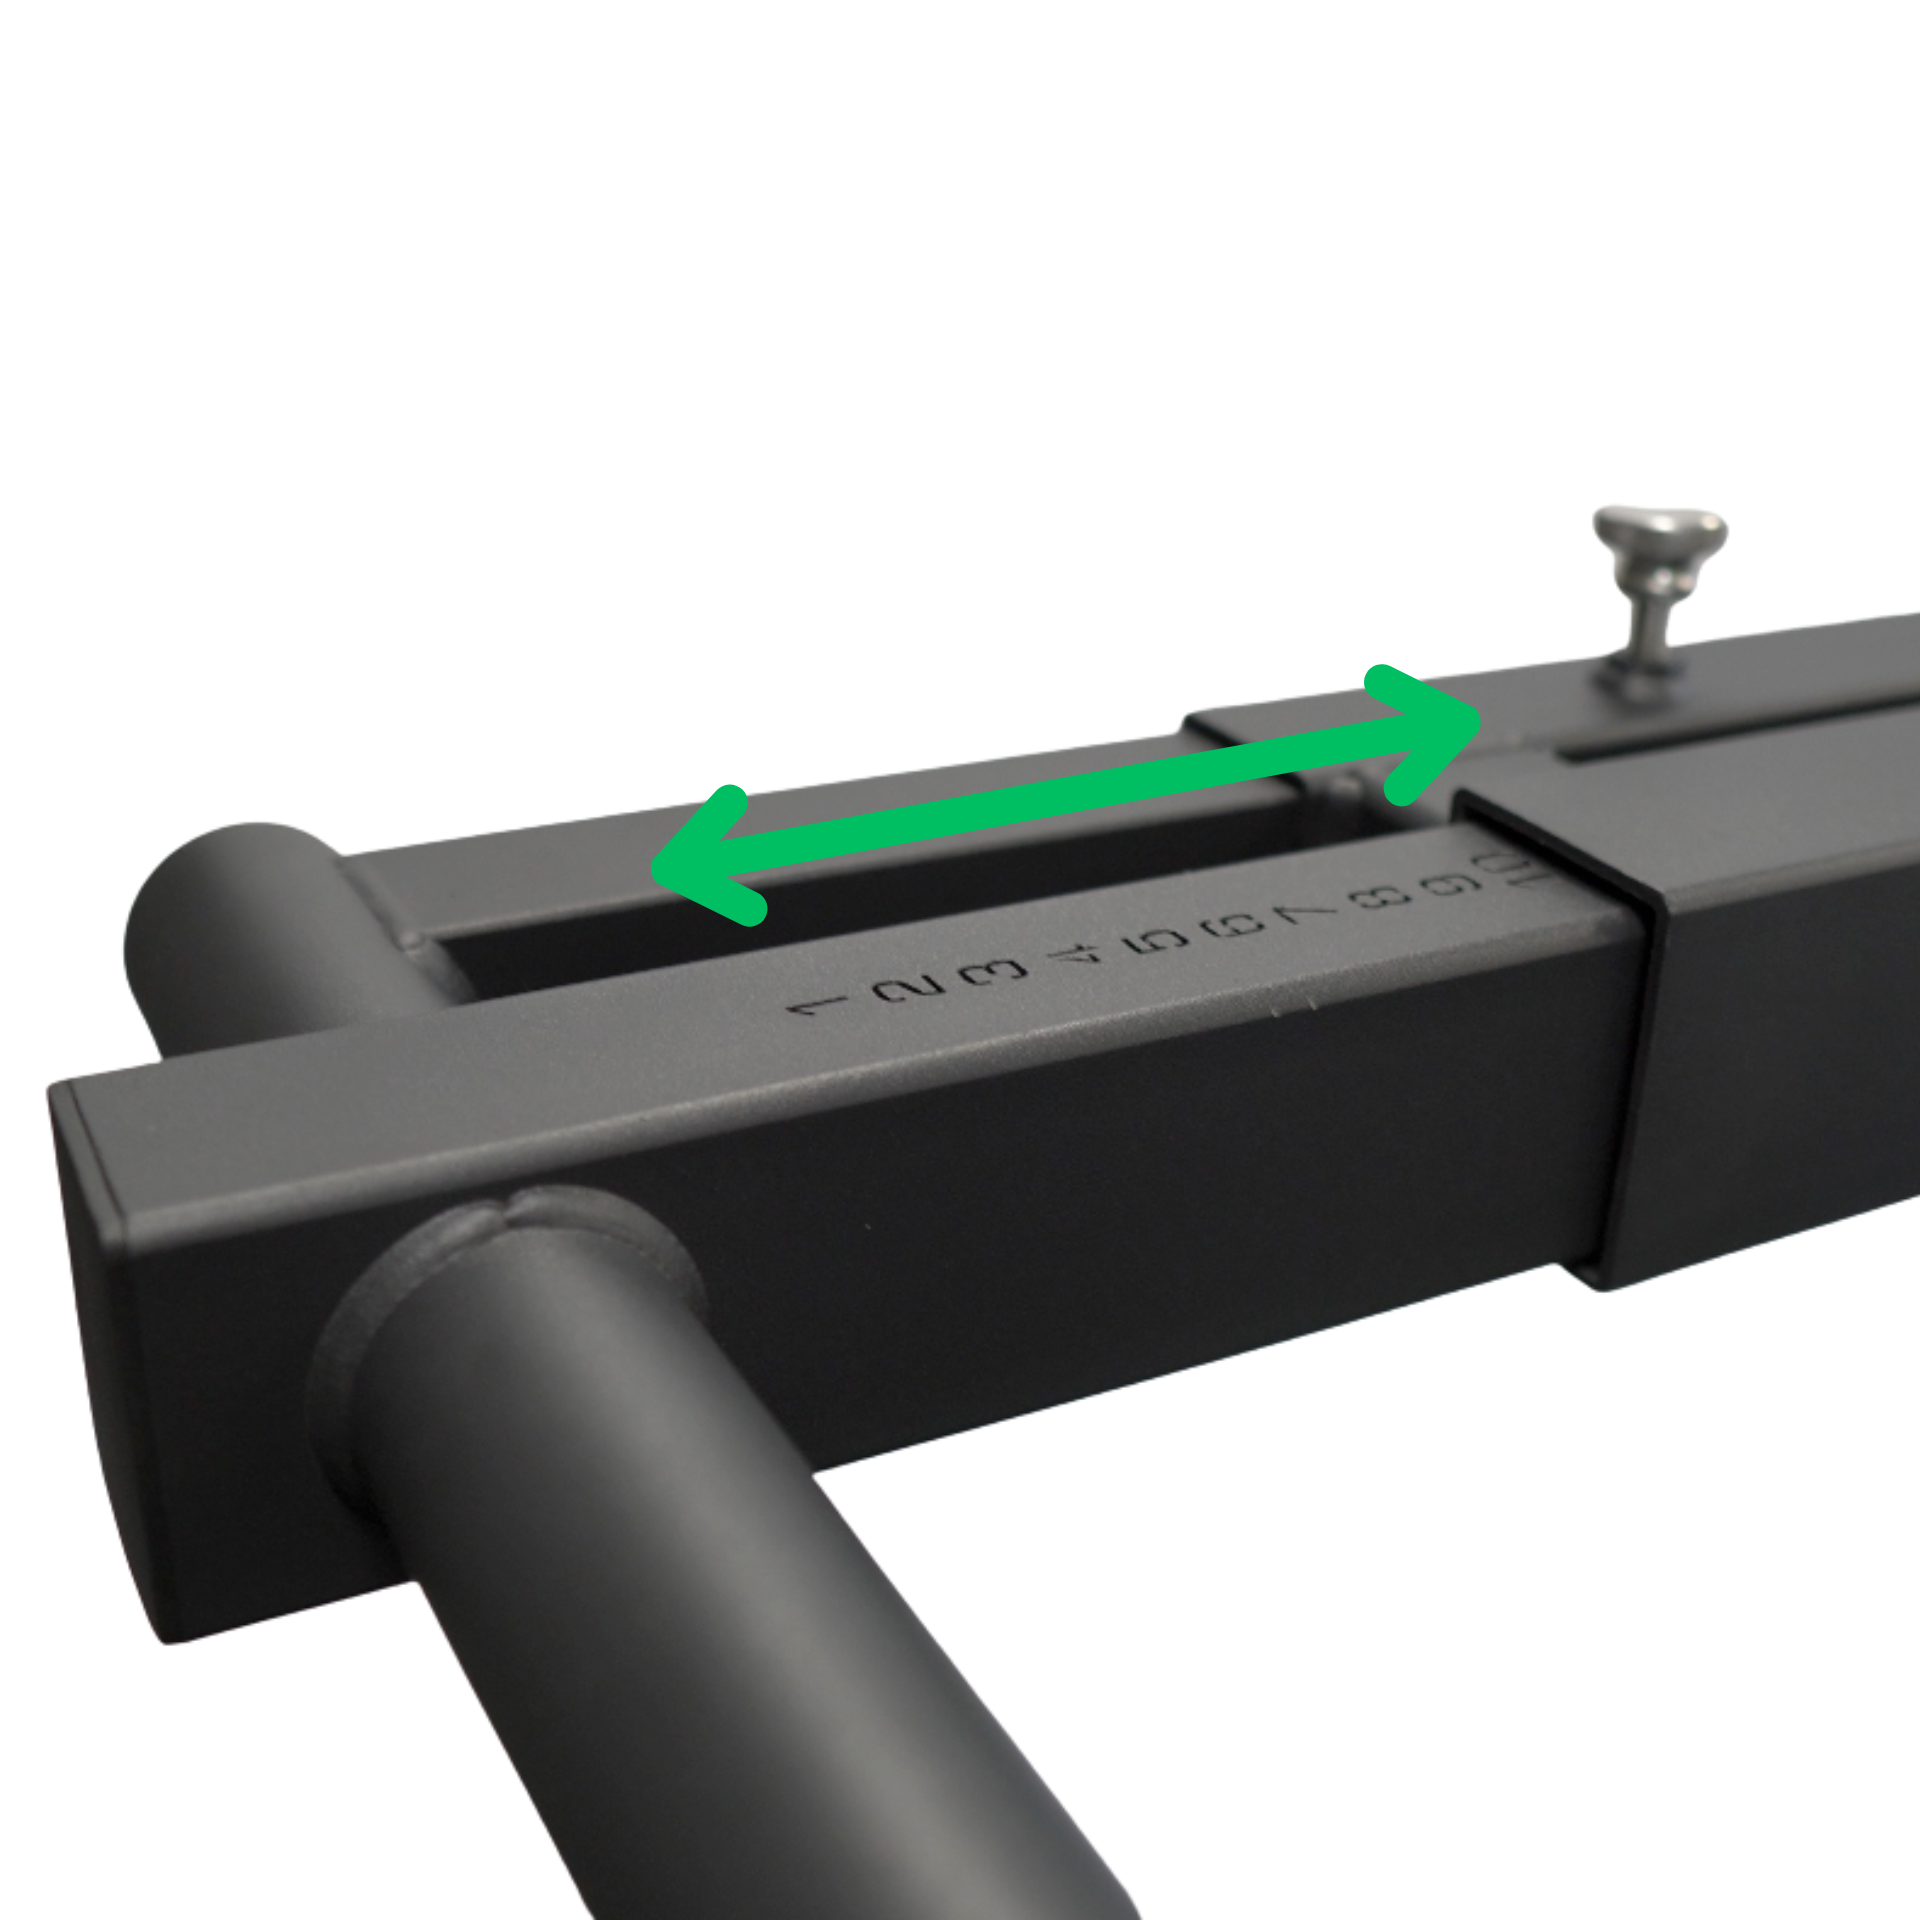
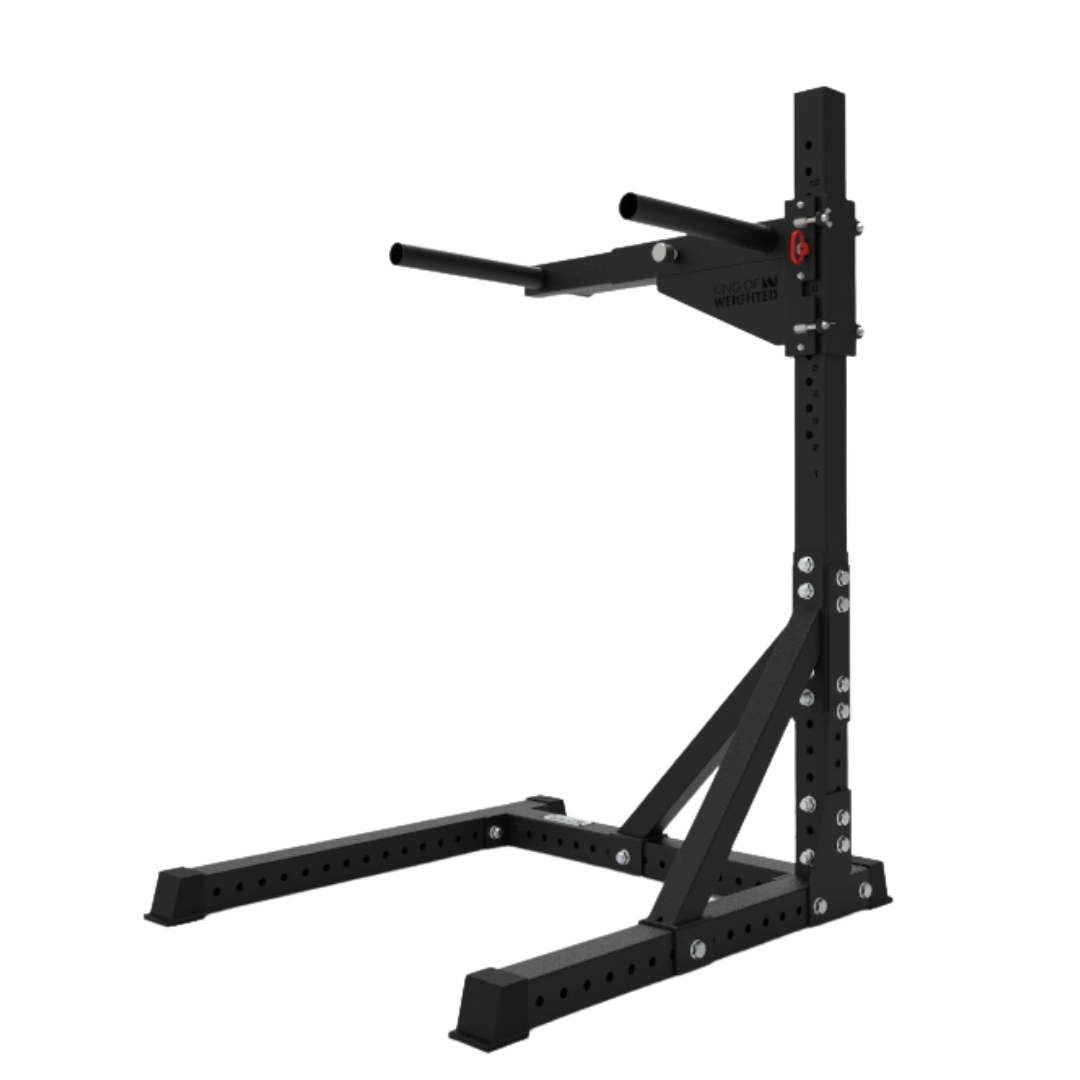
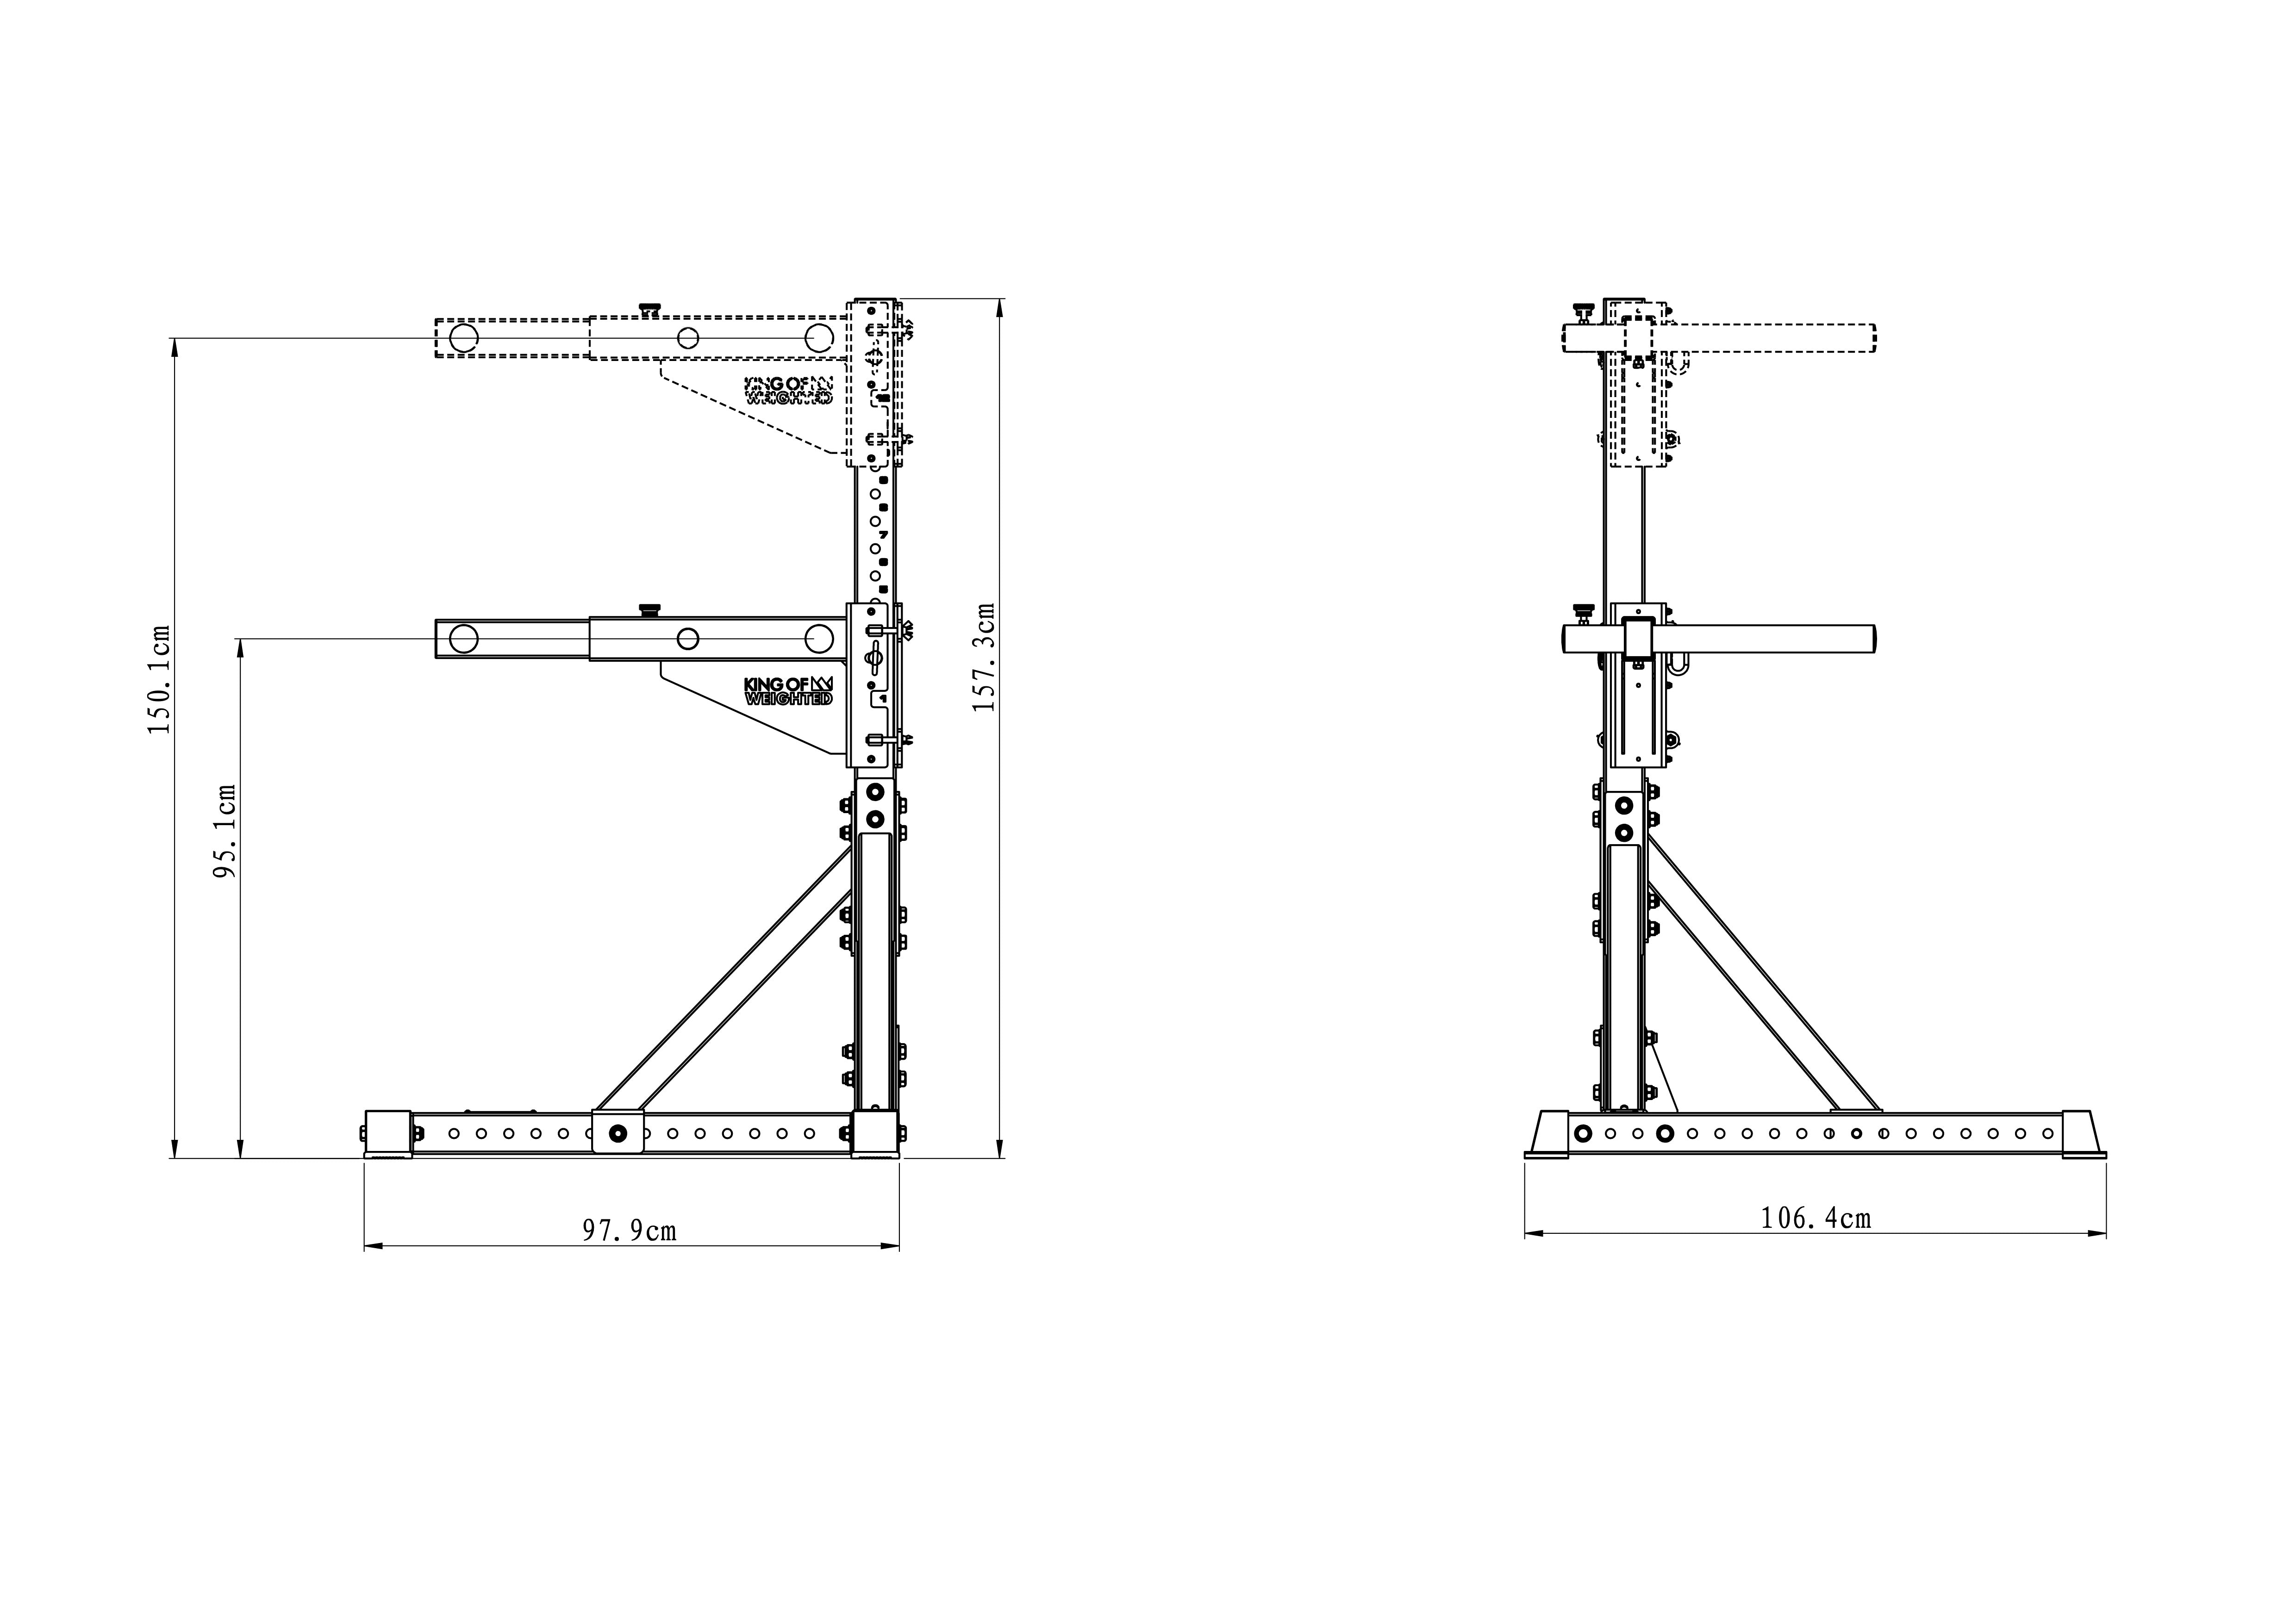
Get your adjustable dip bars HERE - to be able to adjust your grip width over time.
So, you could say that to reduce the load on the shoulder joint, we should try to limit shoulder extension. Given all that, you'll lose hip depth, pec power, and create a worse force transfer toward the additional weight. You'll also end up with a very flat, triceps-dominant dip. This means we need to be really careful when we limit shoulder extension to find the right balance. I'll be sharing more on this in the longevity chapter. You can also change the external leverage by adjusting your grip width. If we grip really narrow, we mostly move in the sagittal plane with a long upper arm. If we use a wider grip, we can make our upper arm seem shorter. This means that the leverage on the shoulder joint in the sagittal plane will be reduced and partially shifted into the frontal plane. The reason for this is that as soon as we grip wider and our arm moves away from the body, the extra weight gains leverage in that plane. This means we need to produce more force to stabilize our position. If you're strong in arm adduction, this can be a win for you. You can use your pecs to pull the arms closer to the body and help your elbow extend. On the other hand, if you can't control the depression of your shoulder anymore, you'll lose stability. So, you need to find that sweet spot, and it can—and will—change over time.
6) Range Of Motion
As we just talked about the grip width, a wider grip will also reduce the range of motion as the effective length of the upper arm decreases and so the way you need to travel down becomes shorter. This is also why, as your technique and stability improve over time, the grips usually become wider. The pros will outweigh the cons. If you can, go as wide as you can while still stabilizing properly. The way the extra weight moves up and down affects how much mechanical work you need to do, and therefore how much force you have to produce over a given distance. The less mechanical work, the easier it is. That's why we need to set minimum standards for range of motion, as defined in the rules. Within these rules, athletes can reduce the range of motion to a level that still allows them to use strong, sustainable joint positions and a good force transfer. To reduce the range of motion for the additional weight, you can widen your grip and/or bend your hips and spine more on the way down. As we talked about, it's best to do hip flexion because it doesn't make the stacked position weaker. As a competitive athlete, it can be really beneficial to optimize the range of motion within the competition rules. Every athlete will have a different sweet spot. As a general rule, aim for the most upright body position that still allows you to hit shoulder depth comfortably. This will usually involve a very small degree of hip or spinal flexion, but make sure you don't lose your stack or lose leverage. Plus, it ensures you'll hit hip depth while still being able to limit the range of motion within the competition rules.
7) Longevity
It's important to remember that exercise technique is just one of many factors to consider when it comes to longevity and injury prevention. It's important to consider, but it's not the only factor when it comes to pain from dipping. It's not just technique. Load, volume, frequency, stress management, nutrition, and sleep all play a part in most exercise-related injuries and discomforts. So, when we talk about injury risk, we need to keep this in mind.
When we train, our joints, tendons, ligaments, and muscles are all under a certain amount of stress. It's important to embrace this, as it's the key to driving adaptations. Ideally, we want our passive structures to be good at handling load so that they don't become a limiting factor in our training and force us to take a step back. To make this happen, we need to make sure we're using a technique that lets the joints we're working with do their best work. This mainly means allowing the right movement to happen, restricting the 'wrong' movement, and creating enough mobility and stability to allow that. Let's look at the key elements of the mobility and stability requirements for the dip. You'll be amazed at the result and how all these structures are designed to work together as one.
The way a muscle works depends on where it's attached to the skeleton and the position of the joint it moves, so it's important to understand how the joints in a dip are meant to move. We'll go through each layer from the inside out. The first thing we need to look at is the ribcage. The ribcage is the main stabilizer of our thoracic spine and provides the surface on which the scapula moves. As we mentioned, it's a pretty flexible structure, so it can change and adapt its shape. (5)
If we look at the front of the ribcage, changes in how it expands or compresses affect both the pec minor and the pec major. The pec minor can depress, abduct, and internally and downward rotate the scapula. (6) If the chest wall is tight, the pec minor will be in a shortened position, which will cause the scapula to be rotated inwards, forwards, and downwards. This moves the upper arm socket more toward the front, which limits your ability to externally rotate the upper arm and bring it overhead. If you don't externally rotate, there's no room to internally rotate either. Similarly, your pec major will also be tighter because it isn't stretched as much by the ribcage, which biases your upper arm more into an internally rotated position. This is pretty common in the starting position for dips. Your elbows will be pointing slightly to the side, with your shoulder blades tilted forward and away from your ribs. It's not uncommon for athletes to then squeeze their chests even more to create a strong protraction, which gives them a sense of stability and control and makes this condition even more likely to occur.

The issue isn't the position itself. The issue is that if your arm is already at the limit of how far it can rotate inwards because of the position of your shoulder blade, how can it move further inwards to extend the shoulder? If your upper arm can't move in its socket, and your scapula can't move backward and downward on your rib cage, it'll create a lot of tension around your shoulder. This often overloads the rotator cuff and proximal tendons of the biceps, pectoralis, or coracobrachialis. It'll also lead to compensation movements like the typical "high shoulder" (one shoulder higher then the other while going down). This is when the shoulder blade gets pushed up because the upper arm can't move backward in the socket.
Summary
In a nutshell, we want to be able to expand our anterior chest wall (breathing-related mobility) and put our scapular in a nice and stable starting position that allows our upper arm to move from external to internal rotation once we extend the shoulder. If we want to be really precise, we need to say that anterior chest wall expansion isn't enough. We also need to be able to expand our posterior rib cage so that the scapula can move properly. Just like the shoulder joint needs to be able to rotate in and out, the rib cage also needs to expand from the back and front. You can think of the ribcage as either compressed front to back or side to side, which makes it flatter (lateral expansion) or more round (posterior-anterior expansion). We want to create a more rounded shape when our shoulders need to move through a wider range. This requires the scapula to rotate around the rib cage, which works better when there's a good fit between the rib cage and the scapula.
Let's take a closer look at the elbow joint. The elbow joint is both a hinge and a pivot joint. It doesn't just hinge; it also rotates. It also allows for supination and pronation, as well as a small amount of humeral internal and external rotation (9). When you're doing dips, you need to bend and extend your elbow. To fully flex the elbow, you need to supinate the forearm and internally rotate the humerus enough. To fully extend, you need to be able to move fully into pronation and humeral external rotation. So, the upper arm and forearm are moving in relation to each other during these movements. If you can't rotate your forearm or humerus, your elbow joint is more likely to get hurt because the passive structures will need to stabilize it more. This is also why you'll probably see triceps tendon problems flare up in athletes with limited humeral internal rotation (and often a lack of anterior chest wall expansion) and golfer elbow symptoms are more likely in athletes with limited humeral external rotation (and often a lack of posterior rib cage expansion).
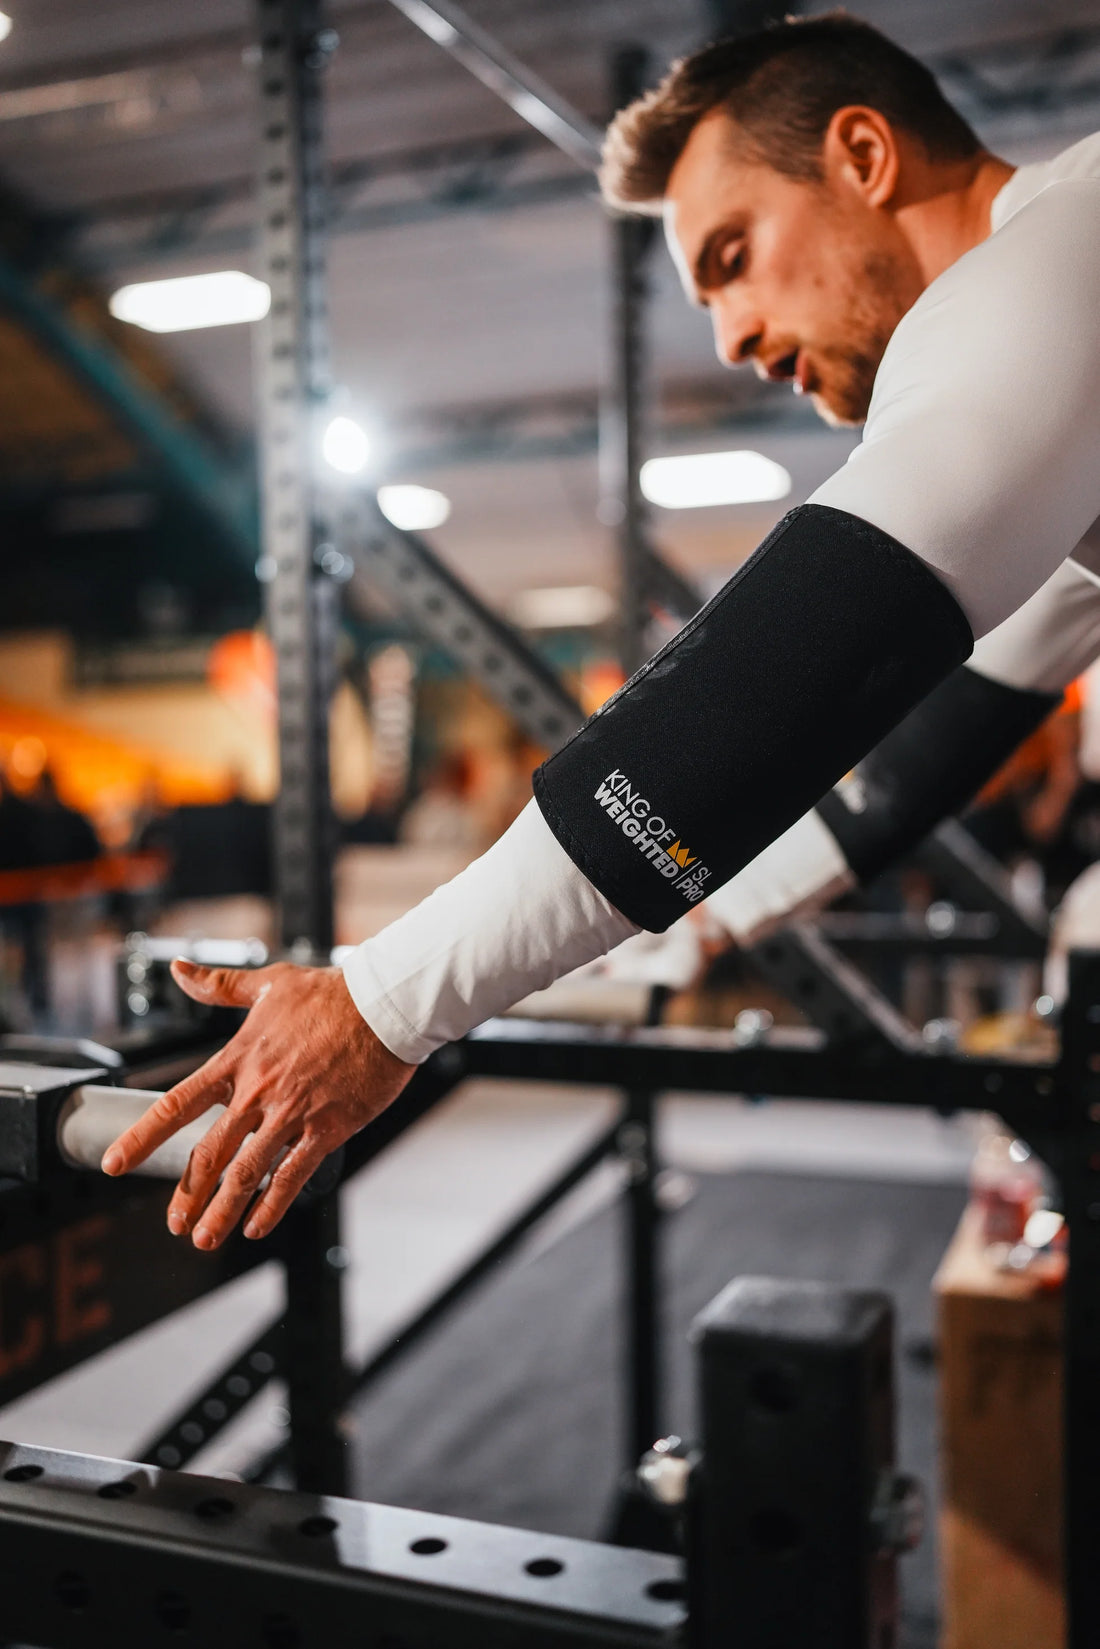
--> Improve your dip performance up to +15kg with SL PRO ELBOW SLEEVES.
If we think about this in the context of a dip, a technique that restricts shoulder movement quite a bit, it might lead to overloading conditions more quickly because it limits rib cage expansion, scapular rotation, and relative humeral to forearm rotations. As we've discussed, technique alone doesn't guarantee injury-free training. It's not a substitute for proper load and recovery management. If we have the chance to reduce the risk of injury and potentially increase the amount of training we can do, it's definitely worth it to adjust the technique.
8) It's not about positions - it's about movements.
When we start, we want to be able to expand the ribcage from front to back. You can achieve this by stacking your pelvis and ribcage and then inhaling. This rib cage expansion will help your scapula to sit properly when it's at rest. To move into shoulder extension and elbow flexion, which will require scapular external rotation and so shoulder elevation and retraction, we need to start from a position of depression and protraction. Just a heads-up: You can get this done by starting in a relatively neutral shoulder position! Your elbows should point backward to bring your humerus into an externally rotated position, creating enough room to internally rotate as your arm moves behind your body. If you're having trouble getting into these ranges, it might be helpful to do some matching preactivation exercises before your dips.
Do you struggle to improve your dip form?
We can help with our online coaching.
References
- McKenzie A, Crowley-McHattan Z, Meir R, Whitting J, Volschenk W. Bench, Bar, and Ring Dips: Do Kinematics and Muscle Activity Differ? Int J Environ Res Public Health. 2022 Oct 14;19(20):13211. doi: 10.3390/ijerph192013211. PMID: 36293792; PMCID: PMC9603242.
- https://www.patreon.com/posts/neuromechanical-72905800
- https://www.patreon.com/posts/triceps-brachii-61681699
- https://final-rep.com/rulebook/
- Liebsch C, Wilke HJ. How Does the Rib Cage Affect the Biomechanical Properties of the Thoracic Spine? A Systematic Literature Review. Front Bioeng Biotechnol. 2022 Jun 15;10:904539. doi: 10.3389/fbioe.2022.904539. PMID: 35782518; PMCID: PMC9240654.
- https://flexikon.doccheck.com/de/Musculus_pectoralis_minor
- Hik F, Ackland DC. The moment arms of the muscles spanning the glenohumeral joint: a systematic review. J Anat. 2019 Jan;234(1):1-15. doi: 10.1111/joa.12903. Epub 2018 Nov 8. PMID: 30411350; PMCID: PMC6284439.
- McKenzie A, Crowley-McHattan Z, Meir R, Whitting J, Volschenk W. Fatigue Increases Muscle Activations but Does Not Change Maximal Joint Angles during the Bar Dip. Int J Environ Res Public Health. 2022 Nov 3;19(21):14390. doi: 10.3390/ijerph192114390. PMID: 36361276; PMCID: PMC9659300.
- Prasad A, Robertson DD, Sharma GB, Stone DA. Elbow: the trochleogingylomoid joint. Semin Musculoskelet Radiol. 2003 Mar;7(1):19-25. doi: 10.1055/s-2003-41082. PMID: 12888941.


